Alrighty, gonna spoil ya guys and gals this week with a bonus post. I finished working on my solo dude mans for the Rhulic Mercs.
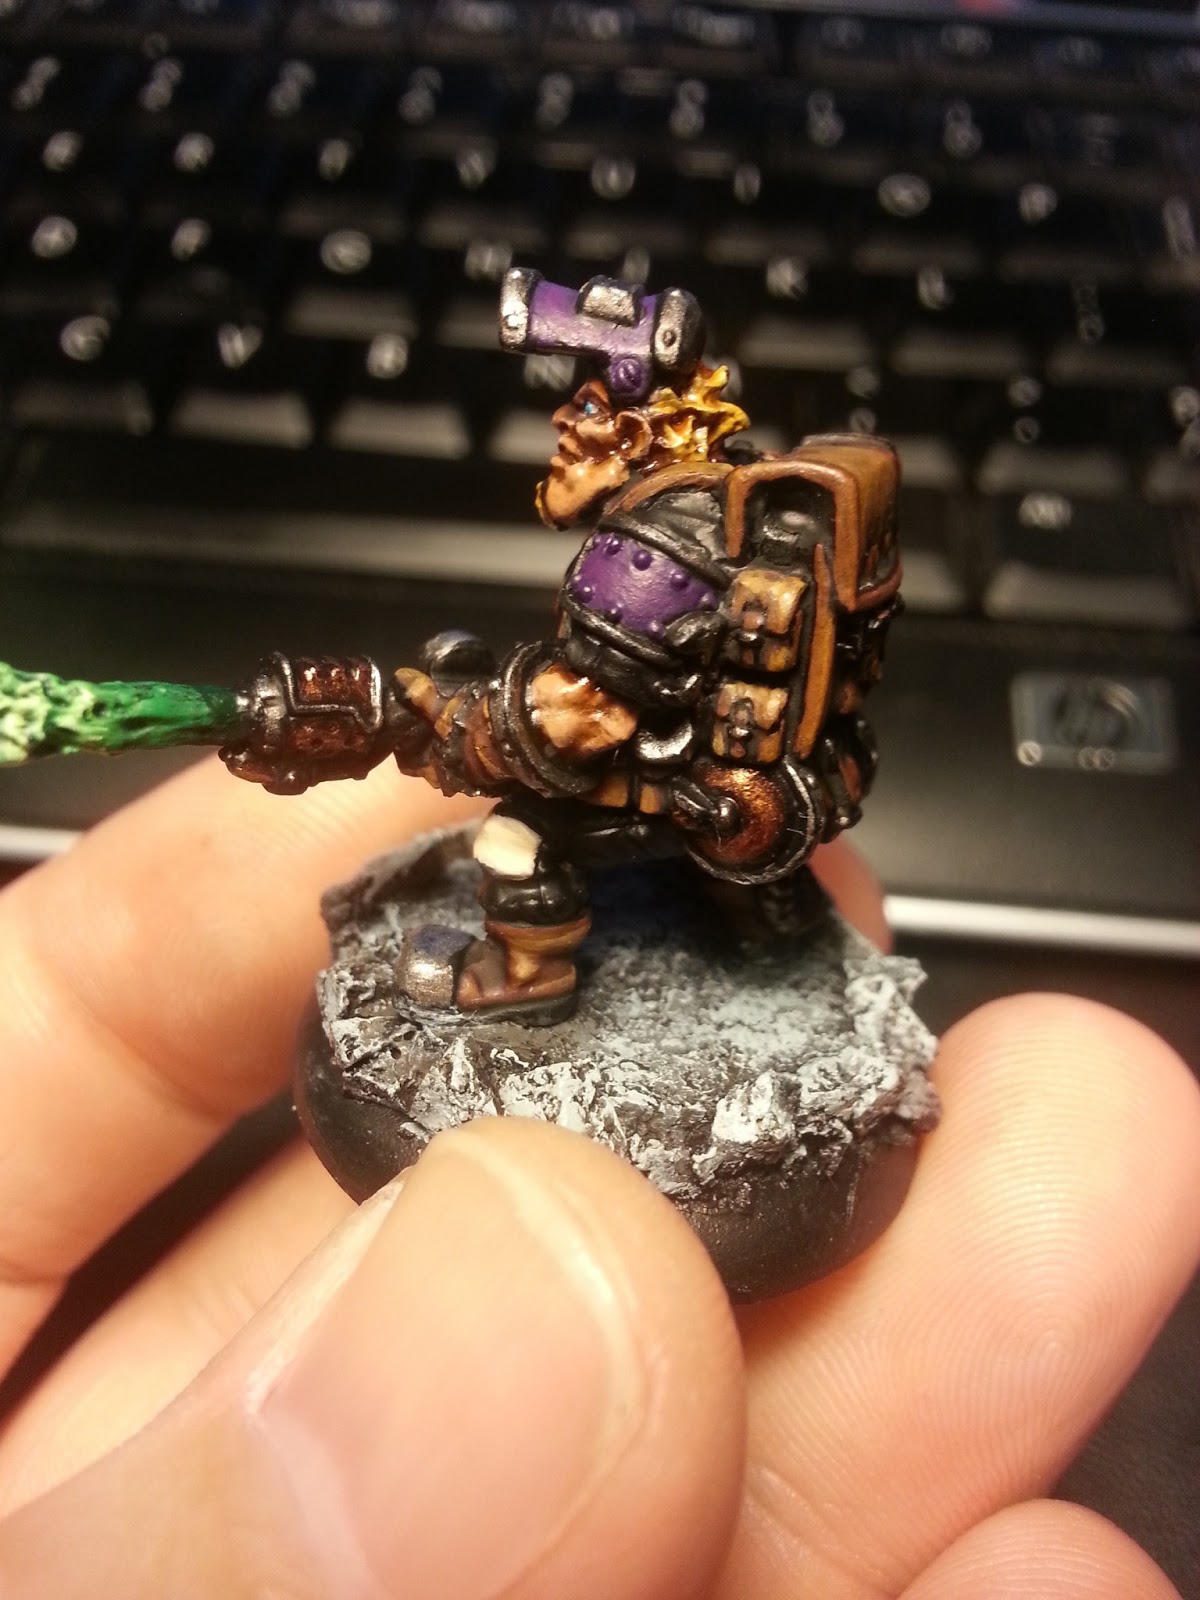
This here be Thor Steinhammer. He is a Rhulic solo and is allowed in the "tiers" for Durgen and the best thing is he is only 2 points for a butt load of cool abilities. He has a solid shooting attack (SP6 PW12) and a pretty good RAT, but I really didn't take him for those. I really took him for his Jack support abilities. The two in particular are Repair and Tune Up, both of which I can see coming in pretty handy.
Repair allows him to repair d6 damage points to any Jack that he is in B2B with. That just seems very nice to me. With the toughness of most of my Jacks in this list already, this could really be a thorn in my opponents side.
Tune up is pretty nice as well. It is a special action with a range fo 5" that allows me to boost either the attack or damage of target Jack. While that doesn't seem to be AMAZING in of itself I think it will come in fairly handy when used in conjunction with some of the other abilities of the army.
Okay, lets talk painting. First, again, I will apologize for the fat fingers in the pics. No that is out of the way.... I had a lot of fun painting this model. More so then the warcaster. This particular sculpt had a LOT of detail. Fun little things to pick out and such.
Staying with the purple/bleached bone quartered theme I worked up the armor. I elected to do the knee pads as well to add more "punch" to the color scheme. I worked up those patches the same way I did on Durgen, going for more of a "natural" highlight on the model as opposed to hard highlighting methods.

Also trying to keep the look consistent over the entirety of the army I did the metals the same way on this piece. I don't want there to be any crazy jumps in style and look when the army is sitting on the table together. It takes a little more time to do my metals the way I am, but I definitely think its worth it. I started with a black washed silver (in this case it was GW Leadblecher) and then worked my way up into an almost 80/20 Chainmail/Leadblecher mix making sure to leave the edges darker then the center parts. I think it gives a worn appearance to the metal. The bronze is actually a 5 step process. It starts with Tin Bitz, moves into dwarf bronze. After that I hit it with a coat of Sepia wash, just to darken. Then I paint it similar to the silver working up with Dwarf Bronze and Shining gold mix making sure to leave those edges darker.

One of the things that I am particularly please with was the way the leather turned out on Thor. With so much on the model I felt like I really needed to make an effort to have it pop a bit. It is very easy to just go "Oh, its leather. Fuck it. Foundation wash done." Which a lot of times is a very valid technique to take when there is very little of it. BUT, I couldn't do it. I based all the leather with Calthan Brown, and gave it a brown wash. Once it was dry I came back with a Snakebite Leather and Bubonic Brown mix (50/50) and blended up some highlights. Again I made sure to leave the outer edges darker.
Finally the flame. Again, I don't really do anything normal if I can help it. So I thought to myself, why the hell start now. I decided to go with a green flame. Give it kind of a chemical fire look. It was fairly simple process. I based with Dark Angels green, did a coat of Snot Green. Washed with green. Once it was dry I began a series of over brushes with Scorpion Green and White mix, and then the just slightest just White.
So that is it for now. I am currently hard at on a couple Grundback Blaster Light Warjacks. I hope to finish them up early next week and get them up on here. So till then, push your hobby limits, enjoy the company of good friends.......
AND PLAY LIKE YOU GOT A PAIR.


No comments:
Post a Comment